

Go and check out the fabulous art that Linda creates, and also please drop by my fellow Guest Designer Ellen's brilliant blog which is full of amazing art. Then don't forget to visit the All Things Tim discussion Group at Yahoo where there is a Grungy Monday file full of fab artwork as well.
I had a bit of a dilema with this technique. Should I go bold and vibrant, or use a more subtle colour scheme. At heart I'm a grungy girl, so I finally decided to go with, as you can see, a fairly subdued range of colours. I think I'm aiming for a faded Italian Renaissance look here.
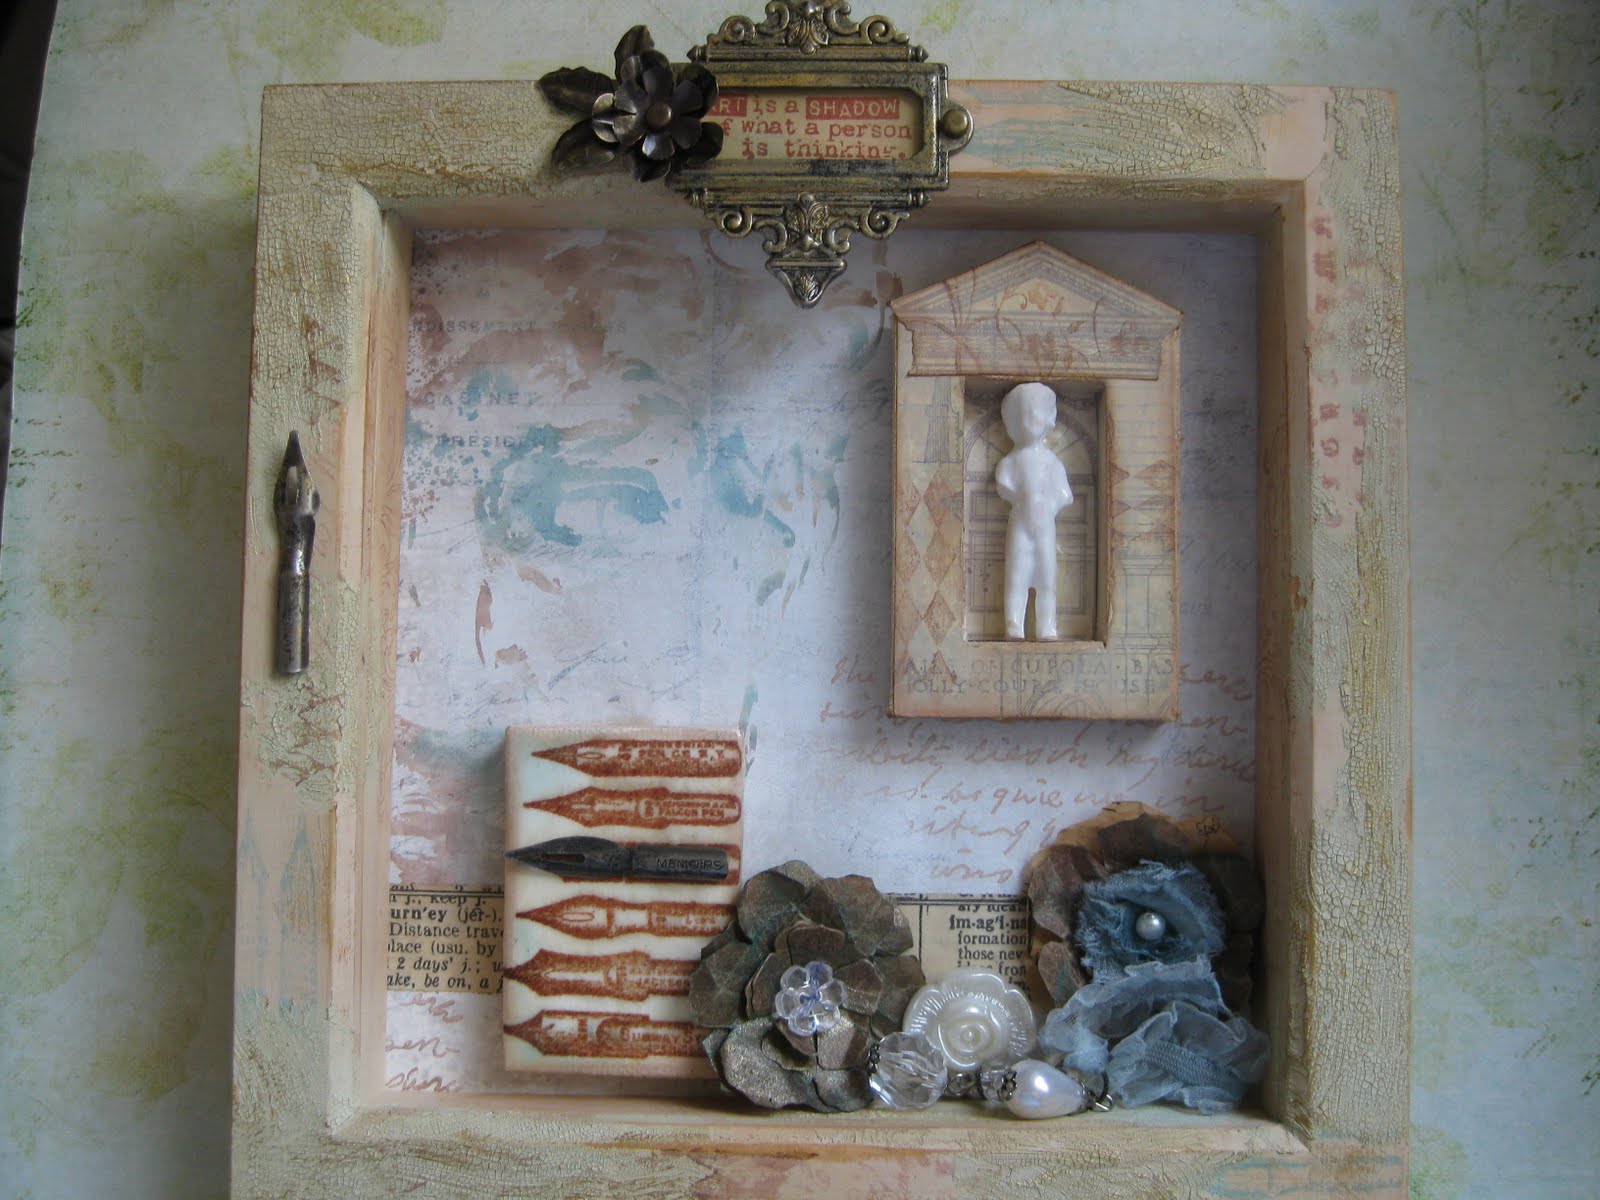
The background is made using paper from the Crowded Attic Paper Stack, which I've painted with some watered down Snowflake Paper Artsy Fresco Finish Chalk Acrylic paint. This gives a matte finish which is just wonderful to stamp on. I have used distress inks (Vintage Photo and Broken China) for my watercolour technique stamping, rather than the Adirondack Inks that Tim uses on his blog, and they work really well but give a softer, more translucent effect. The image of David is from one of my favorite Tim stamp sets, Artful Artifacts, and the script is a from a PaperArtsy Hot Pick stamp set.
The flowers are made using the Tattered Florals die and some Kraft Glassine paper, which I scrunched up and sprayed with Blue Smoke Perfect Pearls Mist. I also used this to spray the Trimming in the centre of the right hand flower and attached to the Baubles. Behind these I've used some Tissue Tape, and after a bit of fiddling about managed to get the words I wanted in just the right places.

I've used two mini canvases, the top one I've used back to front and covered with the Architechtural blueprint paper from the Crowded Attic Paperstack. It made a perfect little niche for the small Fractured Doll, who I thought looked a bit like a minature of Michelangelo's statue of David, although for modesty's sake some bits are missing. To give the frame of this mini canvas more depth and texture I have used the little diamonds stamp from Tim's Mini Muse set, and the floral spray from Artful Flight.

My frame is a cheapy from Wilkinson's that has been painted with Claudine Hellmuth Studio paint in Traditional Tan, randomly stamped with some of the same images I've already used , and then distressed with a bit of hammering and some Old Paper Distress Crackle Paint, which has been inked over with Vintage Photo Distress Ink to get into the cracks. Then I just couldn't resist using a little bit more Ideology goodness to finish off.
I've had a great time making this project and love this technique, so in the interests of art and science I am going to try it with as many different types of ink as I can find in my stash. So far, some have worked better than others, and I'm finding inks that I can't even remember buying!
PS I'm just writing this Wednesday 07.00. Blogger is doing something really wierd and I am continually logged out of my account each time I try to leave comments on some blogs. (Apparently it's a known issue that they are trying to do something about). Until they get it fixed I can only look at all the beautiful artwork at Grungy Monday this week.